Showing posts with label Homemade hair treatments. Show all posts

Tuesday, August 14, 2012

Some Like it Hot!

Natural Hot Oil Treatments


If your mother was anything like mine, then you got the joy of seeing her put a tube of oil in a cup of hot water and then pouring the delicious warmth all over your hair and scalp, allowing it to sit for a good 10 minutes before rinsing it out.
This was always one of my favorites when getting my hair done.


You don't hear a whole heck of a lot about hot oil treatments as much as you used to, but as naturals I feel it should be an important part of your hair care regimen. It has been a long time since I actually bought one of the tubes my mother used to use. Instead, I now make my own. With that being said, I'll share with you how and what to use to successfully mix your own hot oil treatment.

First lets do a quick overview of some oils and their benefits:

Coconut oil: Stimulates hair growth, softens the hair and conditions the scalp. It also helps to get rid of dandruff.

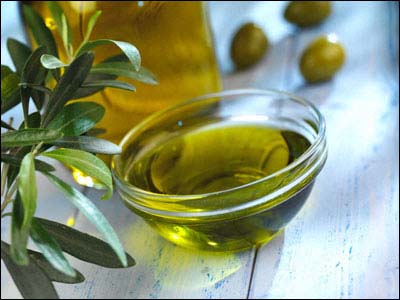
Olive Oil: High in the antioxidants Vitamin A and E providing anti-aging properties and it's moisturizing, soothing and healing.

Castor Oil: Adds strength to the hair, so if your hair is thin and breaks easily, consider adding this oil to your mix. Also acts as a humectant  by attracting and retaining moisture to the hair.

Almond Oil: It helps condition, nourish and soften hair while stimulating hair growth.

Jojoba Oil: This oil is the closest to sebum, which is the oil our scalp secretes. It leaves the hair feeling soft and light, without weighing it down.

Here are some other types of oils
click on the name for more information

All of these oils should be easily found at your local health food stores, online or even at some of your local supermarkets.


Is it okay to mix several oils together, you ask? By all means, do!!! Mix until your heart's content. If you suffer from dry and flaky scalp, try mixing Castor oil and coconut oil together. For thicker and to possibly boost your hair growth, try mixing almond and Castor oil. Try two, three, four or whatever! Your hair will let you know what it loves. If your feeling really froggy, you can even add some essential oils for added benefits such as Rosemary, Clary Sage, Lavender, Ylang Ylang, Tea Tree and Sage just to name a few. You would only need to add a few drops to your mix.

What you'll need:

  • Your Oil Blend
  • Hot Water
  • Towel
  • Plastic Cap or Plastic Wrap

Applying Your Hot Oil Treatment:

  1. Mix your oil in a heat safe plastic bottle or glass container
  2. Place the bottle or container in hot water for a minute or two
  3. Test oil on your wrist, making sure it's not too hot. Apply oil to scalp, roots and length of hair
  4. Massage oil into the scalp for a few minutes
  5. Cover hair with a plastic cap or plastic wrap
  6. Dip towel in hot water, ring out excess water and wrap towel around your head.
  7. Allow oil to sit in the hair no less than 30 minutes and up to overnight

Warming the oil and towel will cause the hair cuticles to open up and absorb all the goodness. Don't worry that the towel doesn't stay warm very long, your hair is soaking it in, trust!

Rinse the oil out of your hair and follow up with your shampoo and conditioner. I recommend not using a clarifying shampoo as it is designed to strip the oils out of your hair, defeating the purpose of the treatment. Your end result should be soft and shiny hair.

*NOTE*
You can do these treatments as much as once a week or few as once a month. Depending on what your hair needs.
Your hair doesn't have to be dripping with oil, so no worries of hurting your pockets with the cost of purchasing oils.
Make notes of how the oils make your hair look and feel, so you'll know what works best for you.
The oil doesn't have to be scalding hot, your scalp will appreciate that. Warm will do the trick.


Tuesday, May 29, 2012

Shea Butter...Unrefined VS Refined


When it comes to Shea butter, you have two choices. Unrefined or Refined, but which do you choose? First let me back up for a minute and tell you a little bit about Shea butter.
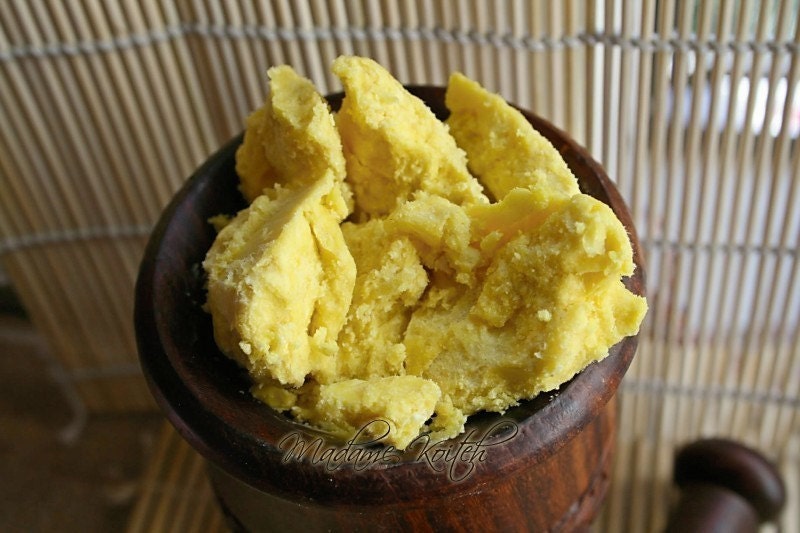
Shea butter is derived from the seed of the Shea tree in Africa. It contains both vitamin A and E. It's not only used in the hair, but also to treat skin conditions like wrinkles, eczema, blemishes and dermatitis. It is also used to treat insect bites, sunburns and frostbite. The differences between unrefined and refined is how the two are processed. Both of them have the same origins from the Shea tree. The nuts are harvested and crushed to extract the butter. It it during the extraction process where you can distinguish between the two.

Unrefined Shea butter is extracted using water only, either by hand or machines, without the use of chemicals and synthetics. This end product is also commonly known as raw Shea butter or organic Shea butter. Its color ranges from beige to light golden yellow and its texture is usually grainy. This method will keep all the vitamins, minerals and other properties of the Shea butter intact. Unrefined Shea butter has a smoky and nutty smell which can be unappealing to consumers. I find adding essential oils such as rosemary, peppermint or lavender help to disguise the smell.

Refined Shea butter is extracted using hexane and other petroleum solvents. It is then refined and bleached by heating it to high temperatures. Other additives and preservatives are also added to remove the nutty smell, resulting in it becoming odorless. It is also white in color which is more physically appealing instead of the yellowish color of the pure traditional Shea butter. This type is also smooth in texture because they have been refined to get rid of the grainy molecules. During the refining process, Shea butter loses many of its vitamins and minerals.

So, which do you choose? Unrefined Shea butter has the highest concentration of vitamins, antioxidants and benefits that you could possibly get. If you do not mind the nutty smell, go for this type because they are far more effective compared to refined ones. They are, however, more expensive compared to refined ones and you would have to learn how to store Shea butter properly so that they can last longer.

Remember, Shea butter is not a good moisturizer, as it doesn't contain any water. Applying it to dry hair can result in locking moisture out of your hair, making it brittle and prone to breakage. It is, however, an excellent sealant for the moisture that you do put into you hair. I like melting my unrefined Shea butter in a plastic container by immersing it into a cup of boiling hot water. Then I'll add coconut oil, lavender oil, rosemary oil, sweet almond oil and grapeseed oil to it. I'll apply a good moisturizing leave in conditioner to my damp hair and seal it in with the Shea butter concoction, concentrating on my ends. Mix and match to come up with a concoction that your hair will love. LOVE YOUR HAIR!!!


Monday, October 17, 2011

Aloe Vera...Nature's Moisturizer


As a child, I remember my mother having an Aloe Vera plant in our kitchen window seal. She would break off a piece and rub the juice from it onto my skin if I had a burn or cut. I always thought that was its only purpose. How pleasantly surprised I was when I discovered Aloe Vera has many different benefits, including hair care. 
I first heard of incorporating Aloe Vera into hair products through the infamous Kimmytube videos on Youtube. After further research here are the benefits I found for Aloe Vera in hair.

  • Detangles
  • Moisturizes
  • Activates Fresh Growth
  • Heals and Soothes Damaged Scalp from Scratches, Burns, Dandruff, etc.
  • Reduces Dandruff, Itchy, Scaly Scalp and Seborrheic Dermatitis
  • Balances pH Level (Porosity) of Hair
  • Tames Oily Hair
  • Defines Curl
  • May Serve as Holding Gel
  • Prevents Excessive Hair Loss
  • Enhances Cellular Rejuvenation
  • Contains Natural Building Enzyme for Proteins
  • Anti-Inflammatory
Who knew!??!
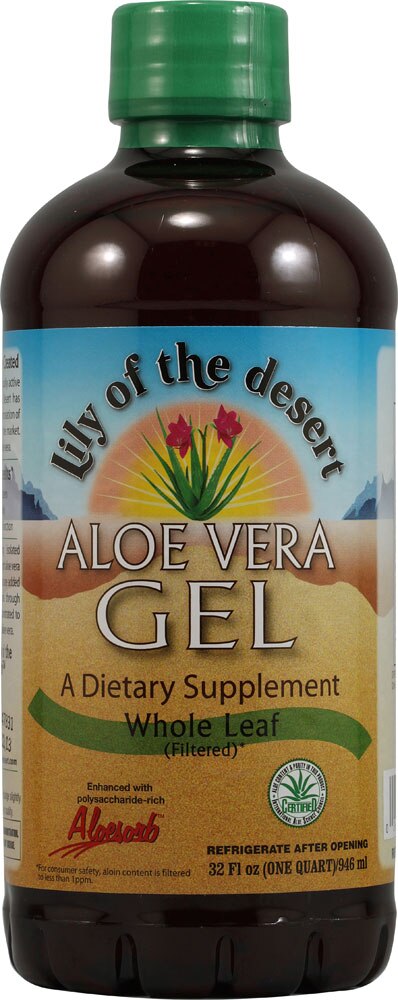
Aloe Vera  helps promote new hair growth for some people. You can use either gel or juice. The gel can be applied directly to the scalp, as external use of Aloe Vera has no side effects. If you don't own a plant, you can easily purchase gel or juice at a local supermarket or health food store. I recommend purchasing the product pure with no added preservatives. You'll have to refrigerate it once opened along with any product you use it in to keep it from spoiling.


I personally use the whole leaf juice and I incorporate it into my leave in conditioner. My hair loves it!! My hair is softer and more moisturized after using it. Of course you'll need to seal the moisture in with a butter of your choice...Shea, coconut, olive oil, etc. I'm probably going to start using it in other products as well to see if I can achieve greater effects. I've read that you can also use it by itself.
Mix and match and experiment. Find what works for you and YOUR hair.
As always...LOVE YOUR HAIR!!

Wednesday, August 10, 2011

Homemade hair recipes

Here are some easy to make at home hair recipes. You may have some of the ingredients right in your kitchen. The essential oils can be purchased at a health food store or online stores. Essential oils are very powerful and would have to be diluted, usually with a carrier oil like olive oil or almond oil. You don't have to follow the recipes to a tee. You can tweak them to fit your hair needs. I haven't tried all of these, but have read great things about them. I may have mentioned some of these in other posts as well.

Hair Clarifying
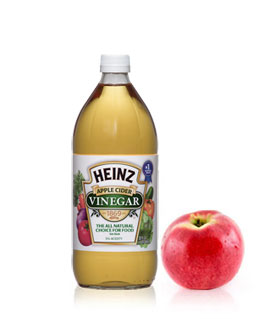
1/2 tablespoon apple cider vinegar
1 cup warm water
mix the ingredients and pour onto shampooed hair OR you can rinse your hair and pour the clarifier onto your hair before you shampoo and condition. I've done both ways and they work either way. Don't worry about the smell, if you use it after shampooing. It will dissipate as it dries. This mixture will help balance out your pH and remove product build up.


Honey and Olive Oil Conditioner
3 teaspoons honey
1/4 cup of extra virgin olive oil
Heat the honey in a bowl, not too hot. Add olive oil. Work through the hair using small amounts at a time. I usually dampen my hair with warm water to help it glide on easier, but you can put it on dry hair. Place a shower cap on your head for 30 minutes. Shampoo and condition as normal. This helps to make the hair softer and shinier.


Egg and honey treatment
Egg yolk provides protein, which strengthens the hair. Honey gives hair a nice sheen. Almond oil is rich in vitamins and minerals and lastly yogurt promotes hair growth and makes the hair easier to comb. This recipe makes for a wonderful hair cocktail.
1 tablespoon honey
1 egg yolk
1/2 teaspoon almond oil
1 tablespoon natural (plain) yogurt

Cucumber/Oil Treatment
I haven't tried this personally, but I've read that it's good for frequent swimmers.
1 egg
1 egg shell's worth of extra virgin olive oil
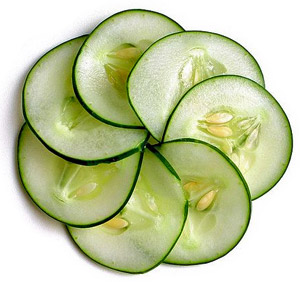
1 quarter of a peeled  cucumber
Blend ingredients. Spread evenly through your hair and leave on 10 minutes. Rinse thoroughly and style as usual.
Itchy Scalp Treatments
I get a lot of calls about what to do for itchy or dry scalp. I have been on a man hunt to find different remedies. Here are few that I've found to be helpful.
Oatmeal
5 drops of rosemary oil
5 drops of lavender oil
Soak oatmeal in water for 20 minutes and strain. Add the oils. Rub liberally onto the scalp. Let it sit for as long as needed and rinse thoroughly. Shampoo and condition as normal.

Two drops peppermint oil
1 cup of water
Massage the scalp gently with this mixture to help with dry scalp.

 Mix equal parts olive oil,  almond oil and coconut oil. Warm the mixture and apply it on the scalp to relieve itchiness caused by dandruff.

Mix equal parts  rosemary oil,  carrot oil, jojoba oil and sage oil. Massage the scalp gently to relieve itchiness.

One avocado
2 bananas
Mix together. Rub through hair and scalp. Leave in for 30 minutes rinse thoroughly.

Hair Growth Mixture
This mixture will help in stimulating the scalp and promoting hair growth. It can be used in different sections or all over. Consistent applications is the key for this mixture.
2 oz  pure vitamin E oil
2 oz castor oil or jojoba oil
15 drops  rosemary oil
15 drops peppermint oil
Put ingredients in a container and mix well. Use your fingertips to dip into the mixture and massage the area. IF you want a more solid mixture you can use 4 oz of coconut oil instead of the castor or jojoba oil. This is a great way to treat thin hair lines. You can use this nightly, but be sure to keep the hair shampooed regularly so that it won't clog the hair follicle--which can cause itchiness and slow hair growth.
Let's talk about Vegetable Glycerin for a second...
I've recently discovered this product and have fallen head over heals in love with it!!
Vegetable glycerin is a by-product of the soap making process. It is known for being a humectant, meaning it attracts water or moisture. You'll find glycerin in a mind boggling amount of skin and hair products. You can't just coat your hair with it or you'll get a sticky mess, but using it along with other products makes for excellent relief on those extra dry days.
Here are a couple of spritzes you can make:
3 tablespoons vegetable glycerin
2 tablespoons honey
1 tablespoon aloe vera juice
2 tablespoons extra virgin olive oil
1/2 cup water
1 spray bottle
Pour all the ingredients in the bottle. Shake really well to disperse honey and olive oil throughout the water. You'll have to shake it with each use.

For a quick and easy hydrating spray mix equal parts vegetable glycerin and water into a bottle. Add 3 drops of an essential oil (rosemary, lavender, tea tree or cedarwood). Spray on the hair as needed.

These are just a few of many recipes out there for healthy and happy hair. I will continue to post them as I continue to discover them. As I said, you can mix and match ingredients to come up with products that work best for you.

Tuesday, May 24, 2011

FOOD For Thought

Before you go running to your nearest beauty supply store for expensive or even "cheap" hair care products, take a step back and look in your kitchen. Hey, if it's good enough to go in the body, then it's good enough to go on the body, right?! Here are a few foods that you should have right in your kitchen that will work wonders on your hair.
Eggs: Packed full of protein and great for strengthening and adding shine to the hair. You can either whip up an egg and add it to your shampoo or just whip up one or two eggs and put it directly on your dry hair. Cover with a towel or plastic cap, let it sit for 15 minutes then wash it out. Be careful not to rinse the egg out with really hot water or it will cook the egg, giving all new meaning to egg head...

Honey: Chocked full of vitamins, honey is an excellent hair moisturizer. Try mixing equal parts honey and olive oil. Rub in your hair, put on a plastic cap and let it sit for 30 minutes before shampooing your hair.

Olive Oil: As I said with the honey, olive oil is also good for conditioning the hair. It's improves the strength and elasticity of the hair. Warm some olive oil in the microwave, about 20 seconds, and massage into your damp hair and scalp. Put a plastic cap on your head for 30 minutes and shampoo and condition as normal.

Apple Cider Vinegar: It has a tart smell, but it will go away as the hair dries. Once again packed full of nutrients apple cider vinegar helps to balance the pH of your hair and scalp and helps in removing product buildup. Mix 1 tablespoon of ACV with a cup of warm water and pour it onto the hair after shampooing. You can either rinse it out or leave the vinegar rinse on your hair for extra conditioning. As I said the smell will go away once your hair dries.  

Mayonnaise: This is probably the most popular "home remedy" hair treatment. It restores moisture and shine to dead hair. It contains eggs, oil and vinegar which are all excellent for you hair. Make sure you use real mayo and not salad dressing...it's not the same thing. Apply to every strand of hair, cover with a plastic cap and relax for about an hour. Wash and condition as normal.
Now these are just a select few of many other foods you can use to treat your hair. Plain yogurt, molasses, and cornstarch are some others. You can also mix and match them to make a good hair cocktail. Experiment and see what works best for your hair.
Related Posts Plugin for WordPress, Blogger...